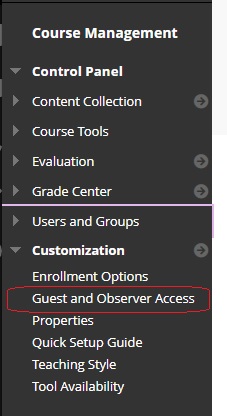
1- Under “Course Management” click on Users and Group and choose Users.
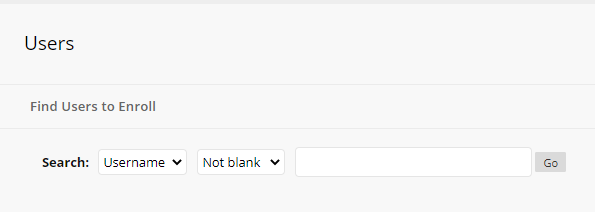
2- Go to Find Users to Enroll (Note: Do NOT click or use the search box. Instead, click the Find Users to Enroll button in the upper left corner of the page.)
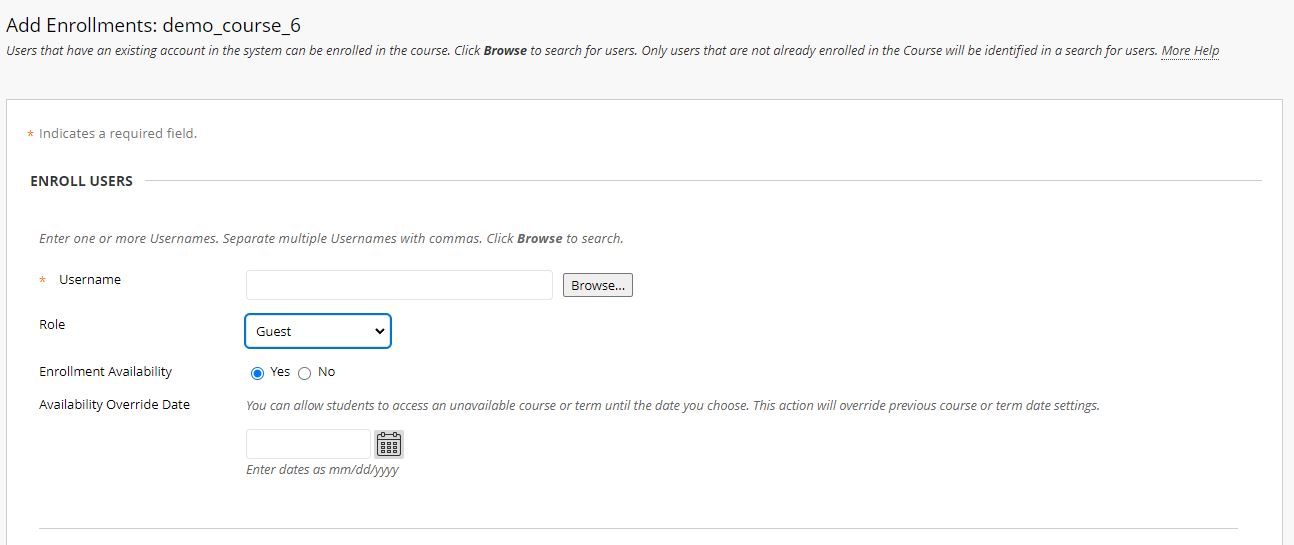
3- Type the guest’s username (their AUC email without @aucegypt.edu), into the Username box. Note: Do NOT click the browse button. Once you have typed in the username, choose their Role (Guest) from the dropdown menu then click Submit.
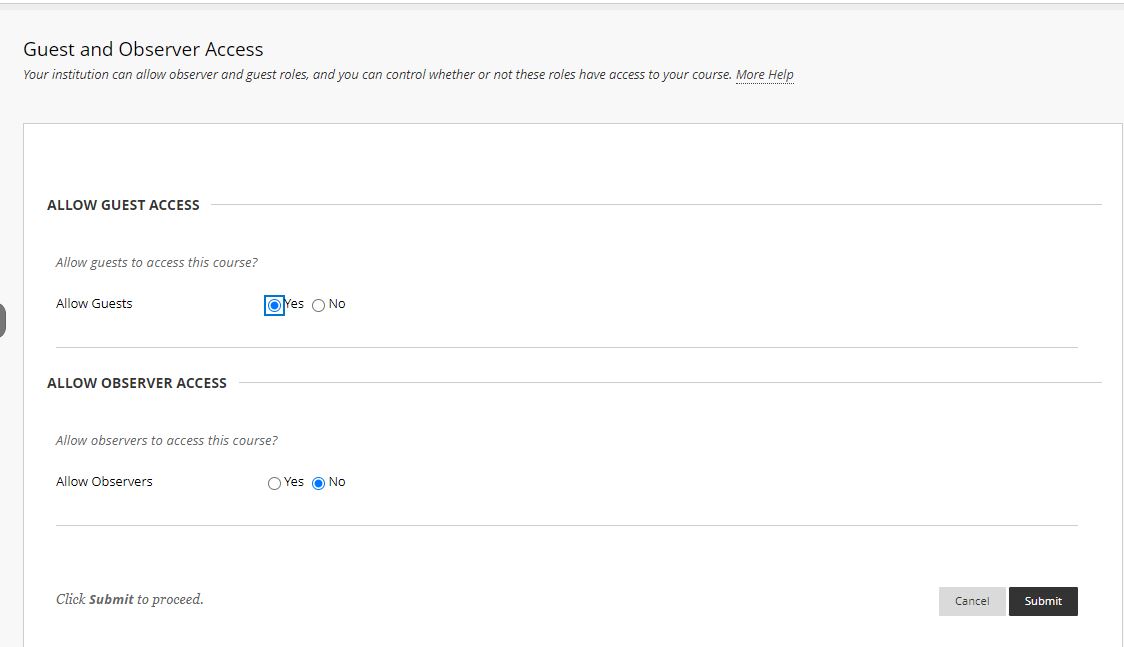
4- Make sure that your course allows Guest or Observer access (according to the user role you are adding): Under “Course Management” expand “Customization” and click on “Guest and Observer Access“
Select “Yes” under Allow Guests (or Observers), then click Submit.