Overview
The Collaborate activity for Moodle allows the creation of video conferencing sessions. Collaborate is used to create a virtual classroom where you can share documents, collaborate on projects and communicate via chat, video, and voice, all in real-time.
Some Collaborate features include:
- Record live sessions and allow students to view them later
- Download or stream recordings in MP3 or MP4 format
- Assign moderator and participant roles
- Assign a single session to the class or create a session for each team/group
- Shared whiteboards with the option to preload content
- Public chat. Private chat between moderators.
- Application sharing
- Breakout rooms
How To add a Collaborate Ultra activity
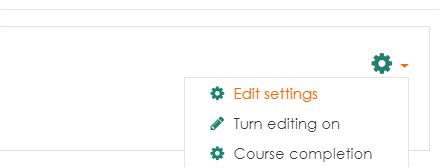
- From the main course page, click on the gear in the top right corner and then click Turn editing on.
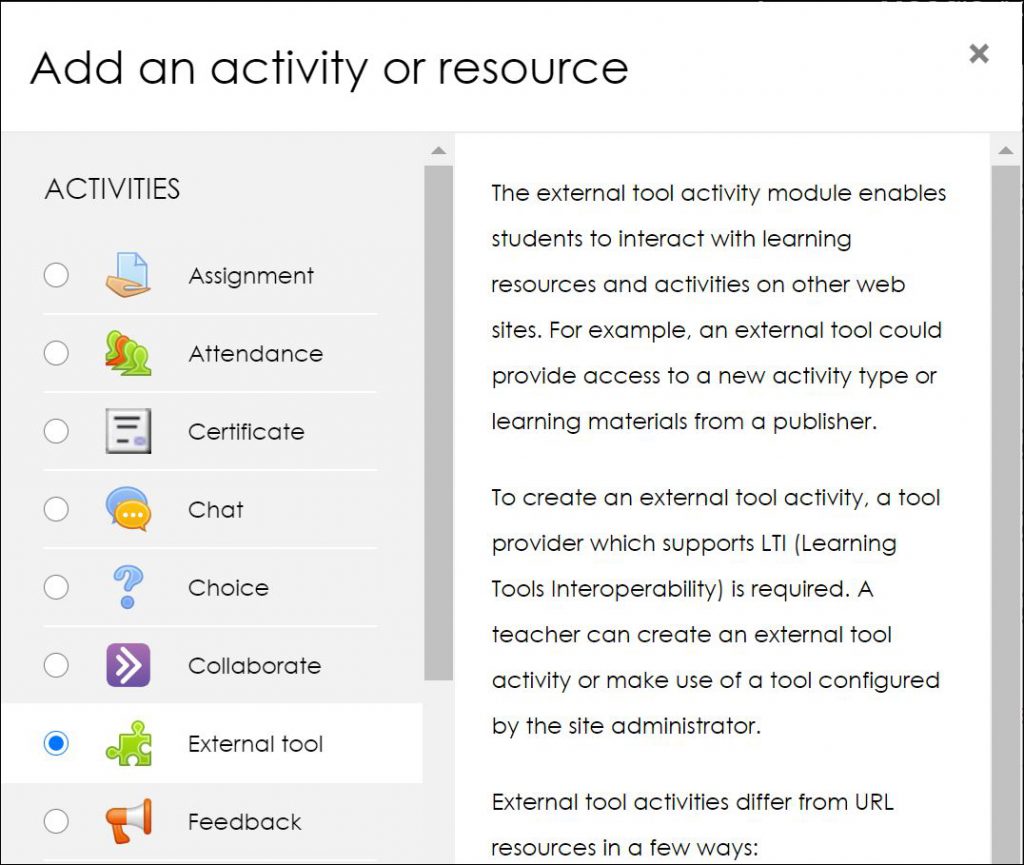
- Locate the section in your course where you want to add the Blackboard Collaborate room. Click Add an activity or resource, choose External tool, and click Add.
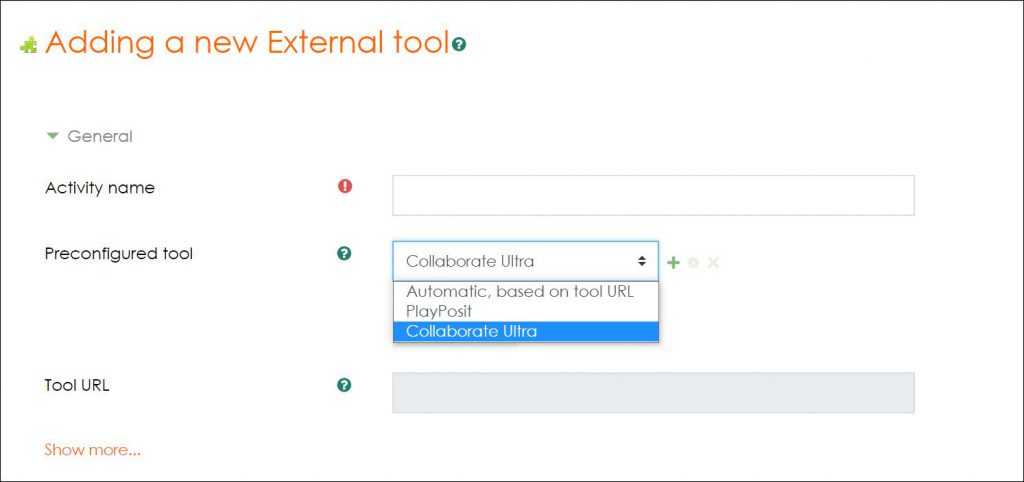
- On the next page, add an activity name and select Collaborate Ultra from the preconfigured tool drop-down menu.
Settings
Session name:
- Name your room => Collaborate Ultra (Class) or (Team)
- To follow our usual naming conventions – (Class) or (Team) is put at the end of the name.

Description:
- The Description field is usually left blank.
Start date and time:
- The start time is usually left at the default which will start the session immediately so that people can test out the collaborate room before the course starts. The end time is usually 23:45 on the day after the course ends.

Duration:
- The Duration is usually set to Duration of course so that the Collaborate session will be available throughout the course.

Allow Collaborate guest access:
- This is usually left disabled. Enabling this will add a guest link underneath the ‘Join Now’ button that can be shared with external participants if needed. If you do enable this, it’s recommended to set the Collaborate guest role to the participant. If the guest needs to present, a moderator can give presenter permissions in Collaborate.

- Once you’re done, click the Save and return to course button.

- On the main course page you should see something like the following. If you don’t yet have a link to the Collaborate instructions jump to the section on Adding a link to the instructions.

Adding moderators
Collaborate Ultra automatically makes instructors as moderators and students as participants.
Recordings
Recordings will automatically appear at the bottom of the activity page under the ‘Join Now’ button approximately 20 minutes after the recording has finished.
To watch a quick video on how to create a Collaborate session visit the below link:
https://ca-lti.bbcollab.com/recording/2fc6321892a54b009e093407030040a2