Course readings, lecture presentations and any related course materials are typically added to a Content Area. Note: Before proceeding, make sure that edit mode is set to “On”

Adding a File
To add a file (such as .pdf, .doc, .docx, .ppt, .pptx) to a content area,
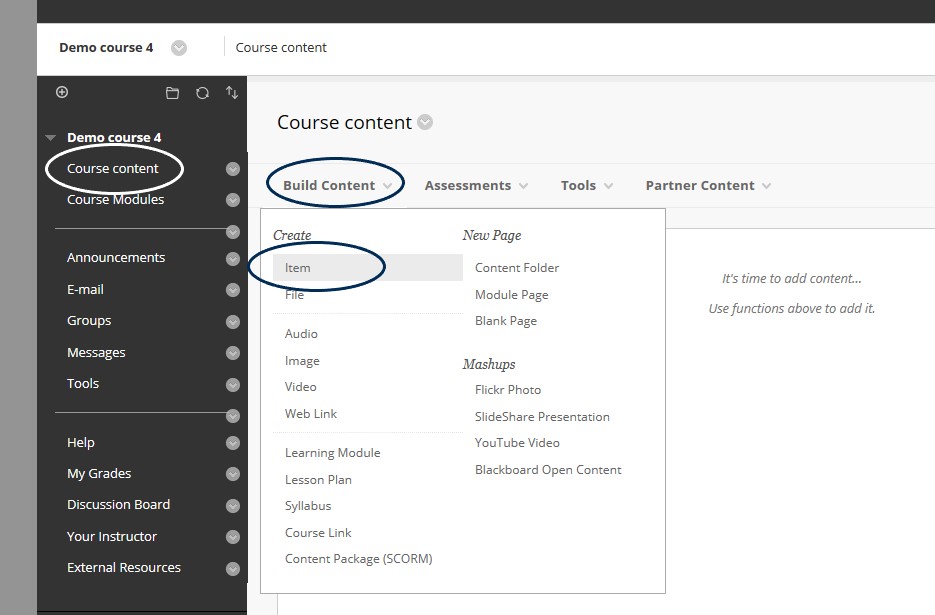
- Click on the Course Content tab on your left panel.
- Click on “Build Content” and choose “Item”.
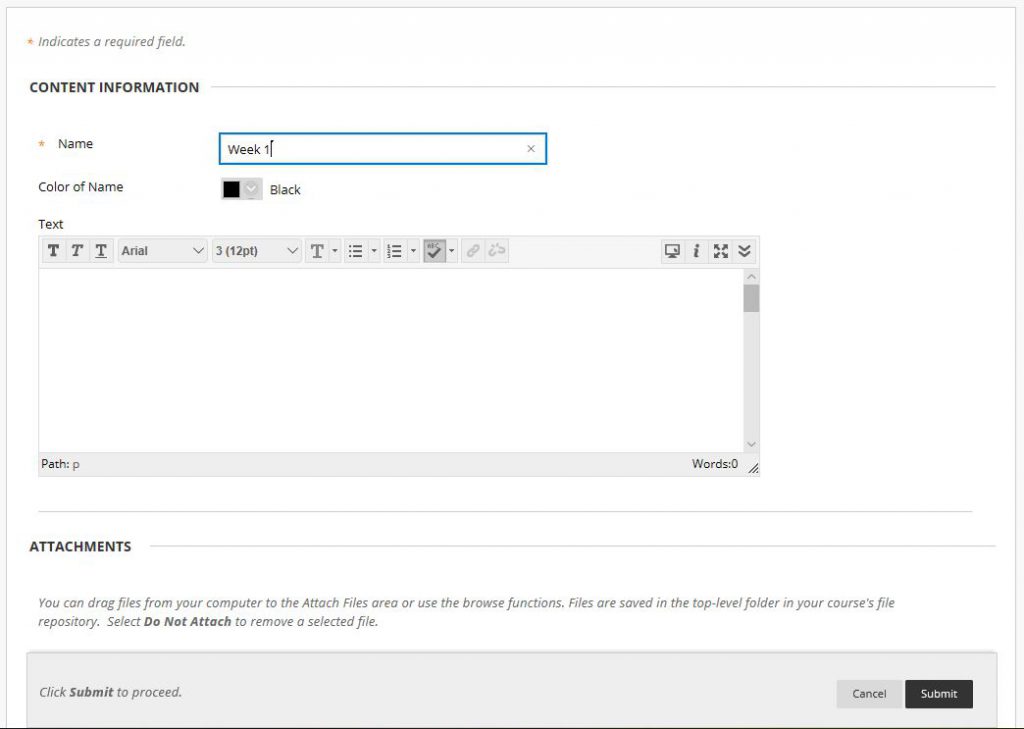
- Enter a title for the item (ex. Week 1 ), and click the Browse My Computer button to add a file from your local computer.
- Click Submit
Adding Folders
You may wish to organize your files in folders. To add a folder to a content area,
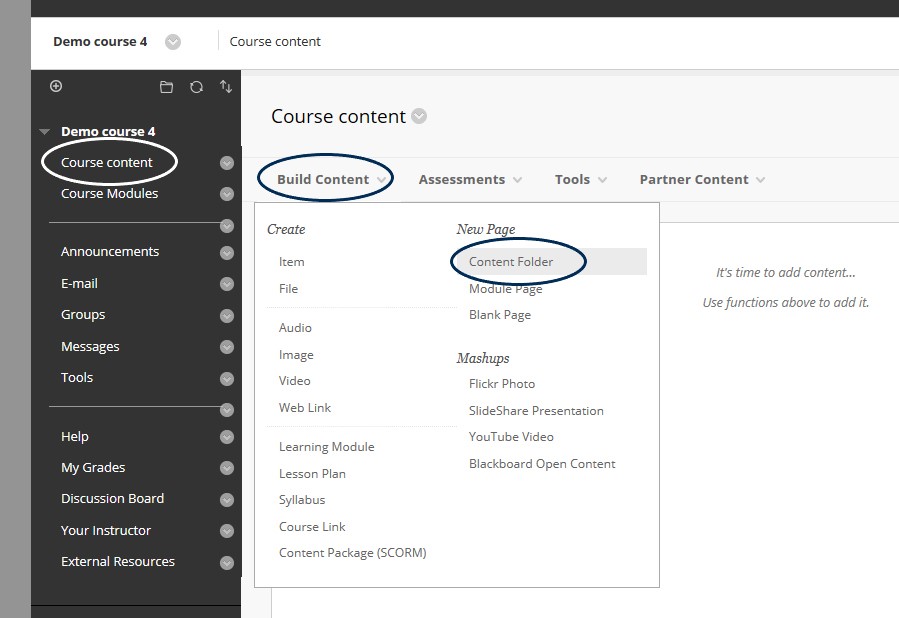
- Click on the Course Content tab on your left panel.
- Click on “Content Folder”.
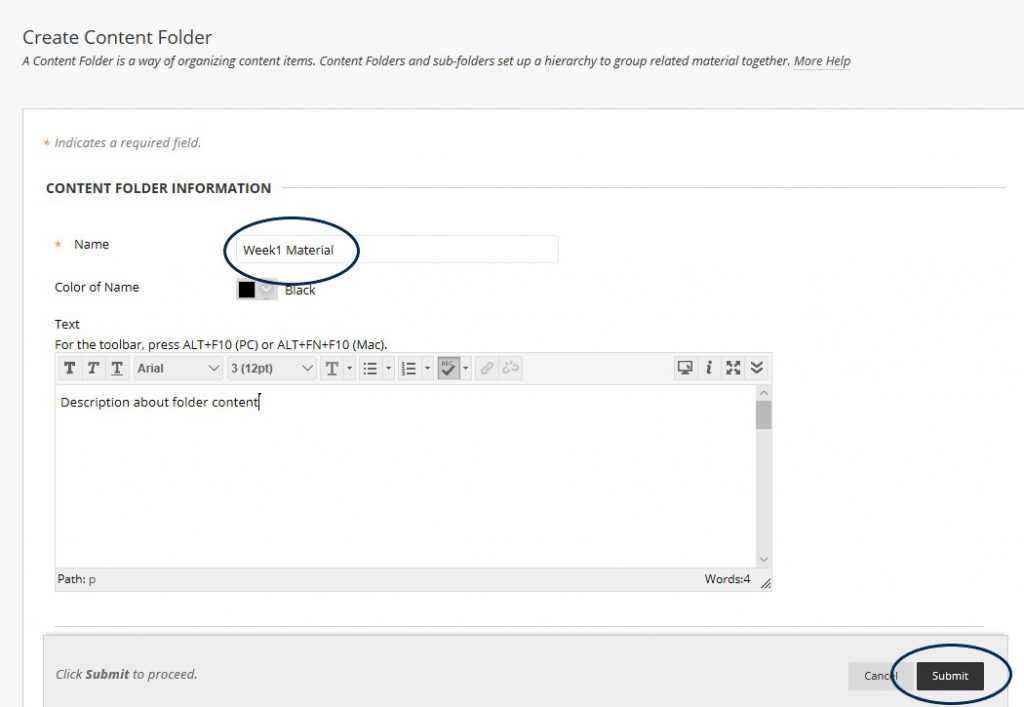
- Enter a title for the folder.
- Click Submit.