You can seamlessly use Zoom inside your Canvas course, if you have a Faculty Zoom license.
Scheduling Your Zoom Meeting:
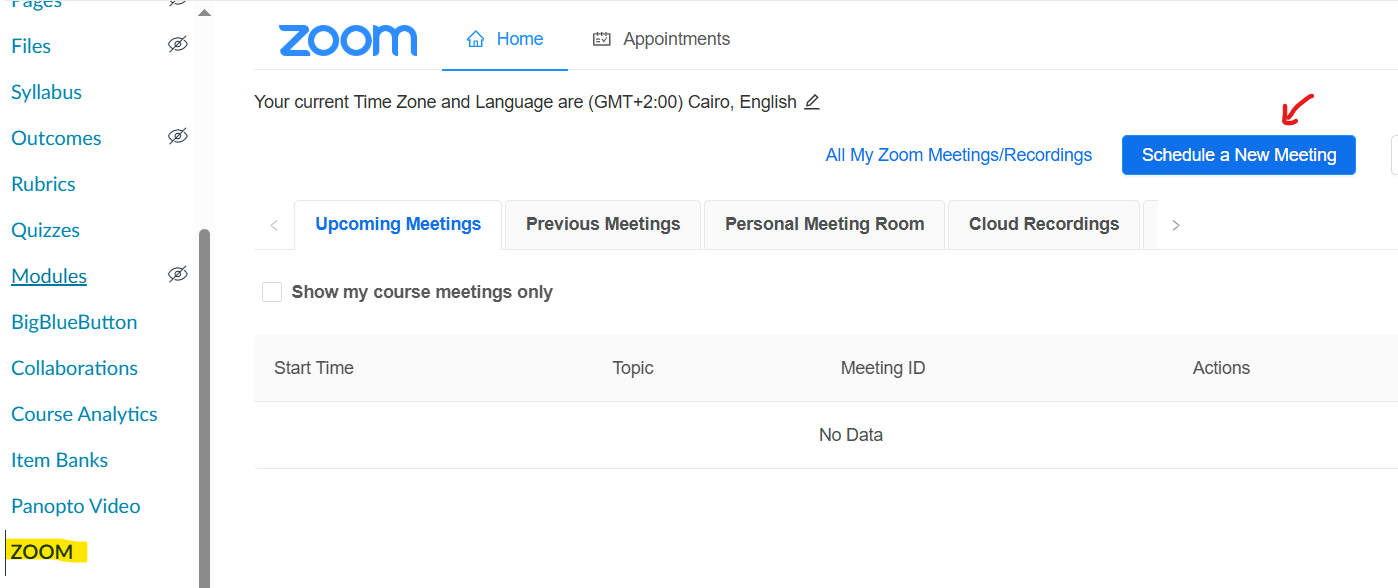
- Click the Zoom link in your course menu.
- Click Schedule a New Meeting.
- Topic: This defaults to your course name. You can edit it (e.g., “Weekly Lecture”).
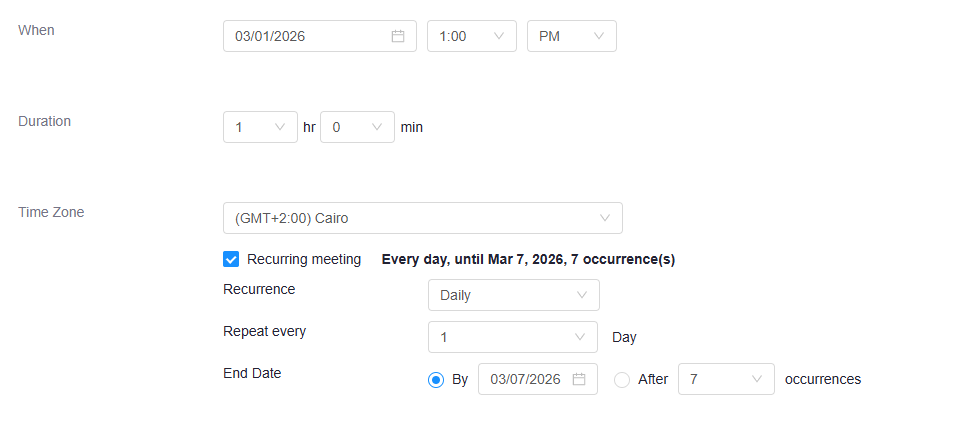
- When & Duration: Set your start time.
- Recurring Meeting: If your class meets every Tuesday/Thursday, check this box. Set it to Weekly and select the days. This creates one link for the whole semester.
- Meeting Invitees: is used only for adding users other than course students (keep empty and link will be available to all course students)
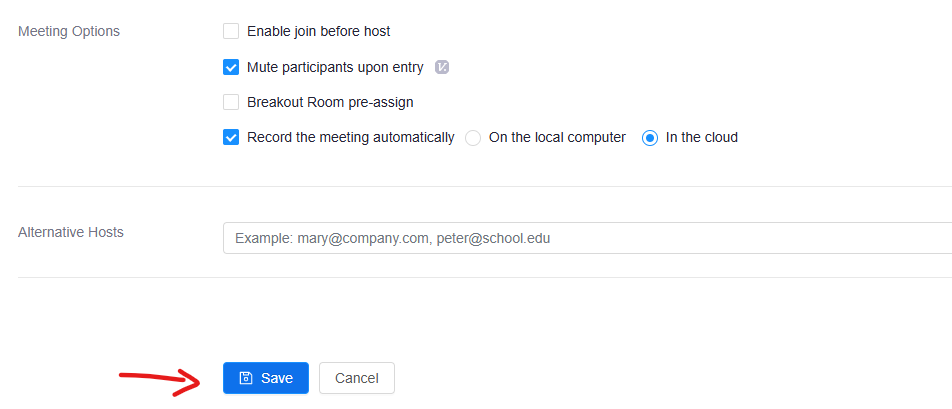
- Record the meeting automatically: Select In the Cloud if you want the recording to automatically appear in Canvas later.
- Click Save.
Once Zoom is added to a Canvas course, you can access Zoom from Course Navigation.
- In Course Navigation, click the Zoom link.
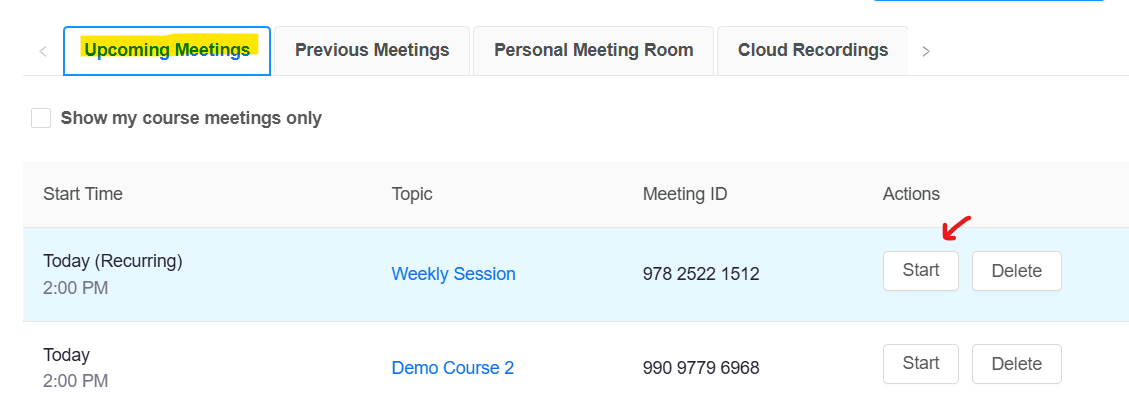
- Click the Upcoming Meetings button.
- Locate the Meeting ID you want to begin and click the Start button.
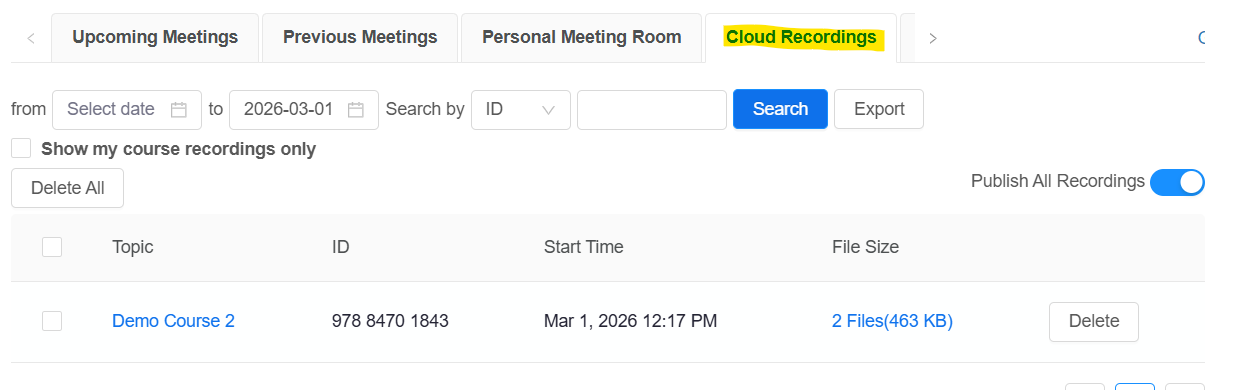
Managing Recordings:
If you recorded to the Cloud, the video will process after the session ends and appear on Canvas after sometime.
- Go to the Zoom tab in your course.
- Click the Cloud Recordings tab.
- Publishing: By default, all recordings are published to students. You can toggle the Publish switch to publish each recording individually.
How Students Access Zoom Meetings?
You do not need to email the link to students.
- Once you save the meeting, it appears under their Zoom / Upcoming Meetings tab inside the course.
- Once the recording is ready and published, it appears under Zoom / Cloud Recordings